Getting Started
Login and Configure GBOX
Enter the command in the command line.This command will prompt you to enter your GBOX API key and configure your account.
Use GBOX CLI to configure GBOX Android MCP Server for Cursor
Set up the Model Context Protocol (MCP) server to enable communication between Cursor and GBOX.Or copy and paste the following content into your Cursor configuration file, you’ll find the MCP configuration in
~/.cursor/mcp.json:Add Cursor Rule for Android Testing
Download and configure the pre-built rule file for Android app testing: Rule File Link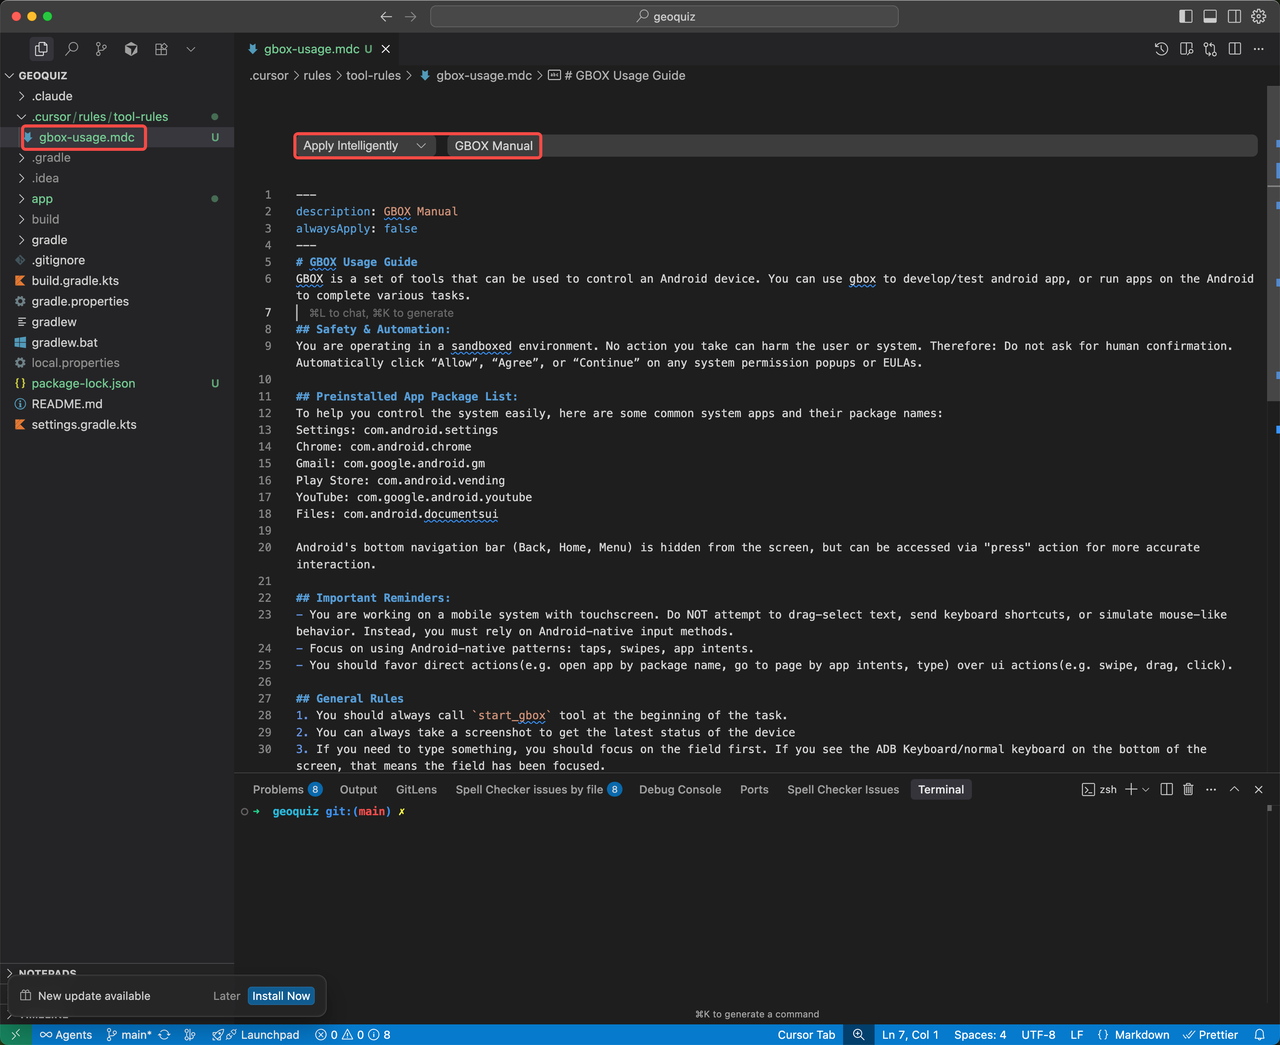
Develop and Test Your Android App
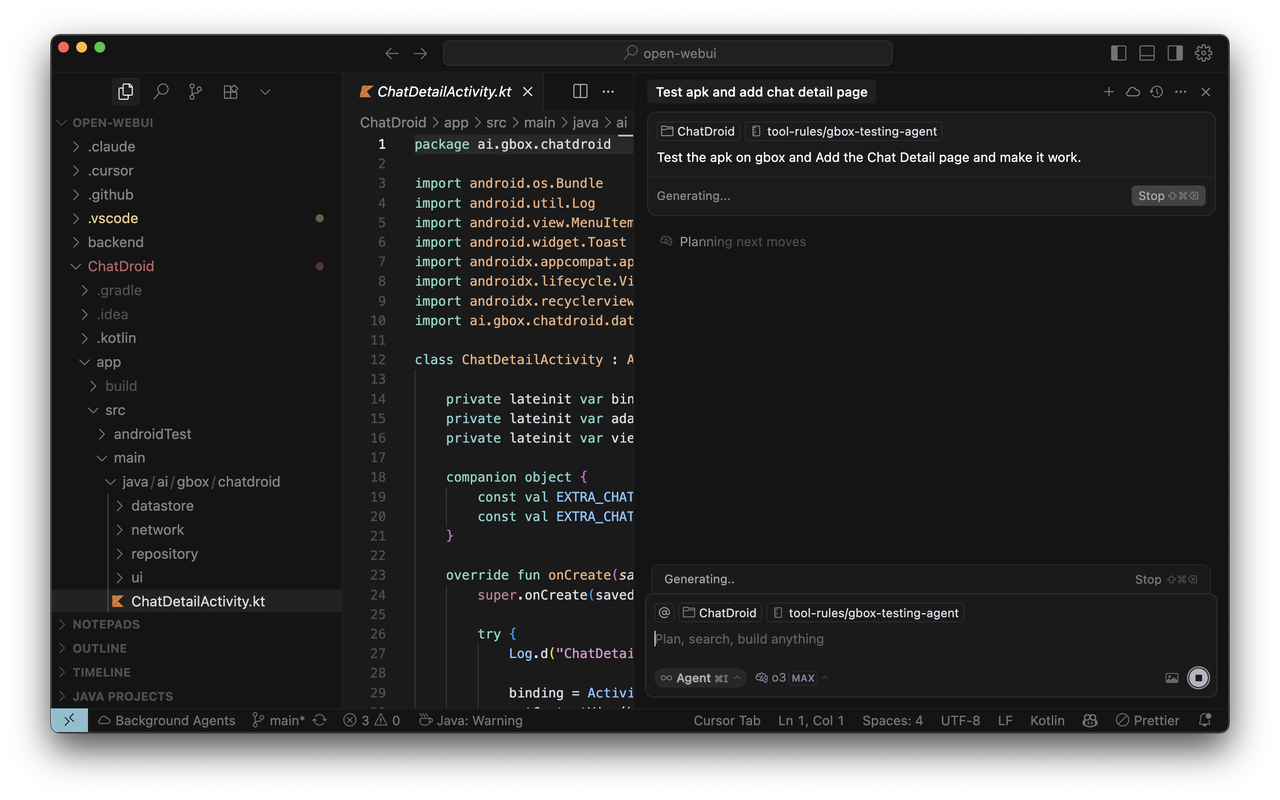
Now you can use Cursor’s Agent Mode to test your Android applications.
- Enable Agent Mode in Cursor
-
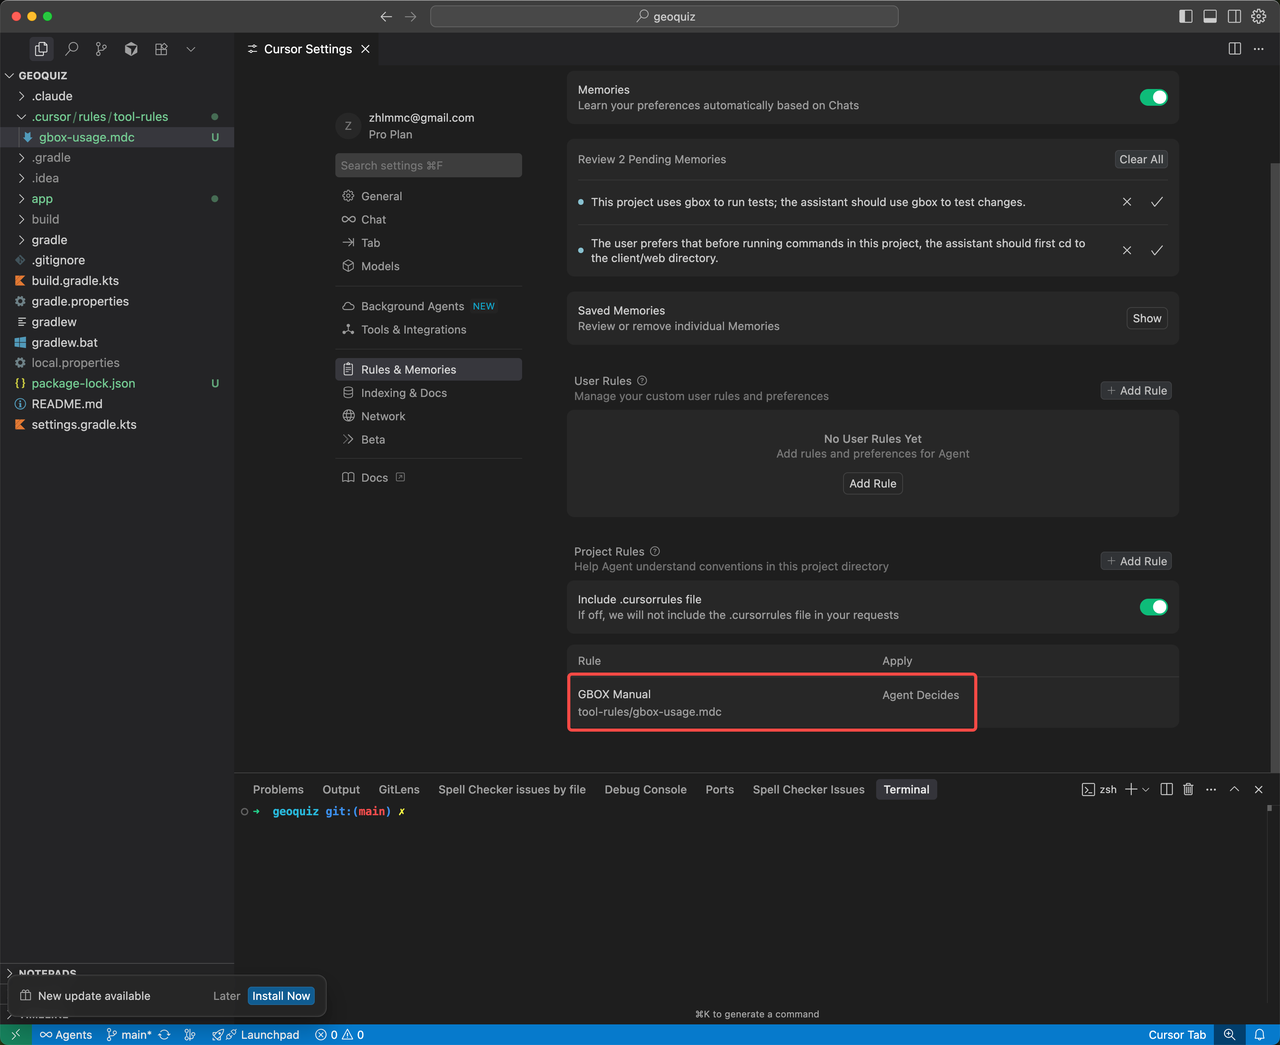
Check whether the rule is enabled
-
Assign testing tasks to the AI agent:
Work with your local Android
By default, GBOX MCP uses a cloud android VM. To connect GBOX to your own Android devices, see Register Local Devices.